How to replace headlamp bulbs: 5 easy steps
Published On Sep 11, 2014 06:29 PM By Abhijeet
- 2 Comments
- Write a comment

You barely pat attention to the head lights bulbs of your car. They are just something that is used when it goes dark. But what about that day when it goes dark and the headlamps refuse to brighten your way ahead. Might not sound that big a concern, but this can be a bigger problem than it actually sounds. Think about it, you cannot see what’s in front of you and drivers ahead do not know if you are behind them. Headlights are a major safety issue, for you and for fellow drivers on the road.

In the city, you might still do away for a short stint as the roads are usually lit. However, out on the highway this problem could end up in a catastrophe. And it is not just about one point working, high or low. Both dim and dip are very necessary for night time driving. So take a little time today and check the state of your car’s headlamps. Also replace if necessary. The procedure is quiet simple and we shall outline the basic steps for you to do it yourself. Please note that this procedure covers only standard halogen bulbs, and not the HID (High Intensity Discharge) or Xenon systems.

Step 01: Check the bulb type

Once you have discovered that bulb is not working or even a point is out, you will need to replace it. You need to find out what type of bulb your vehicle is equipped with. Shuffle through the owner’s manual and you shall find it correctly. If you have difficulty finding it, ask the spare part supplier, they usually have a part list for multiple manufacturers.
Step 02: Tools required

This is actually such an easy procedure that you generally do not require any tools at all. Because you might need to change a blown bulb at the side of the road at night, changing a bulb does not require any tools. Keep a clean rag handy to wipe your hands as they rub around the engine bay and you need to handle a glass bulb.
Step 03: Pull out the holder

Open the bonnet and locate the headlight with the fused bulb. It is a bulb holder with a power connector behind it. Gently pull out the power connector. They are usually connected by a plastic or metal catch. The catch has a small lever at the top, push it and unplug the cable.
Step 04: Remove the fused/blown bulb

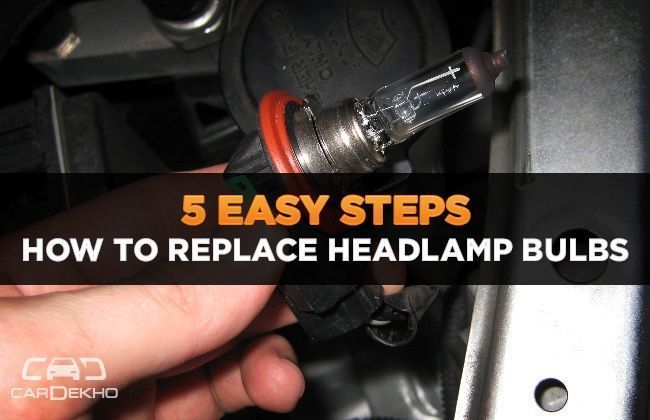
After the power has been disconnected you may remove the fused/blown bulb out. Remove the wire harness that holds the bulb in place. Grip onto the holder firmly and slowly pull out the old bulb.
Step 05: Replace with new bulb

Pull out the new bulb from its packaging. Make sure you wipe your hands before that. Hold the bulb’s plug end with the clean rag and place it back in the headlight. Push back the wire harness and reconnect the power cable. You will also have to adjust the rubber gasket that goes behind the holder to protect the headlight from dust and water. Now test the bulbs functioning. Re check the fittings if the bulb does not light up.


